
Better Drums with Joe Tomino
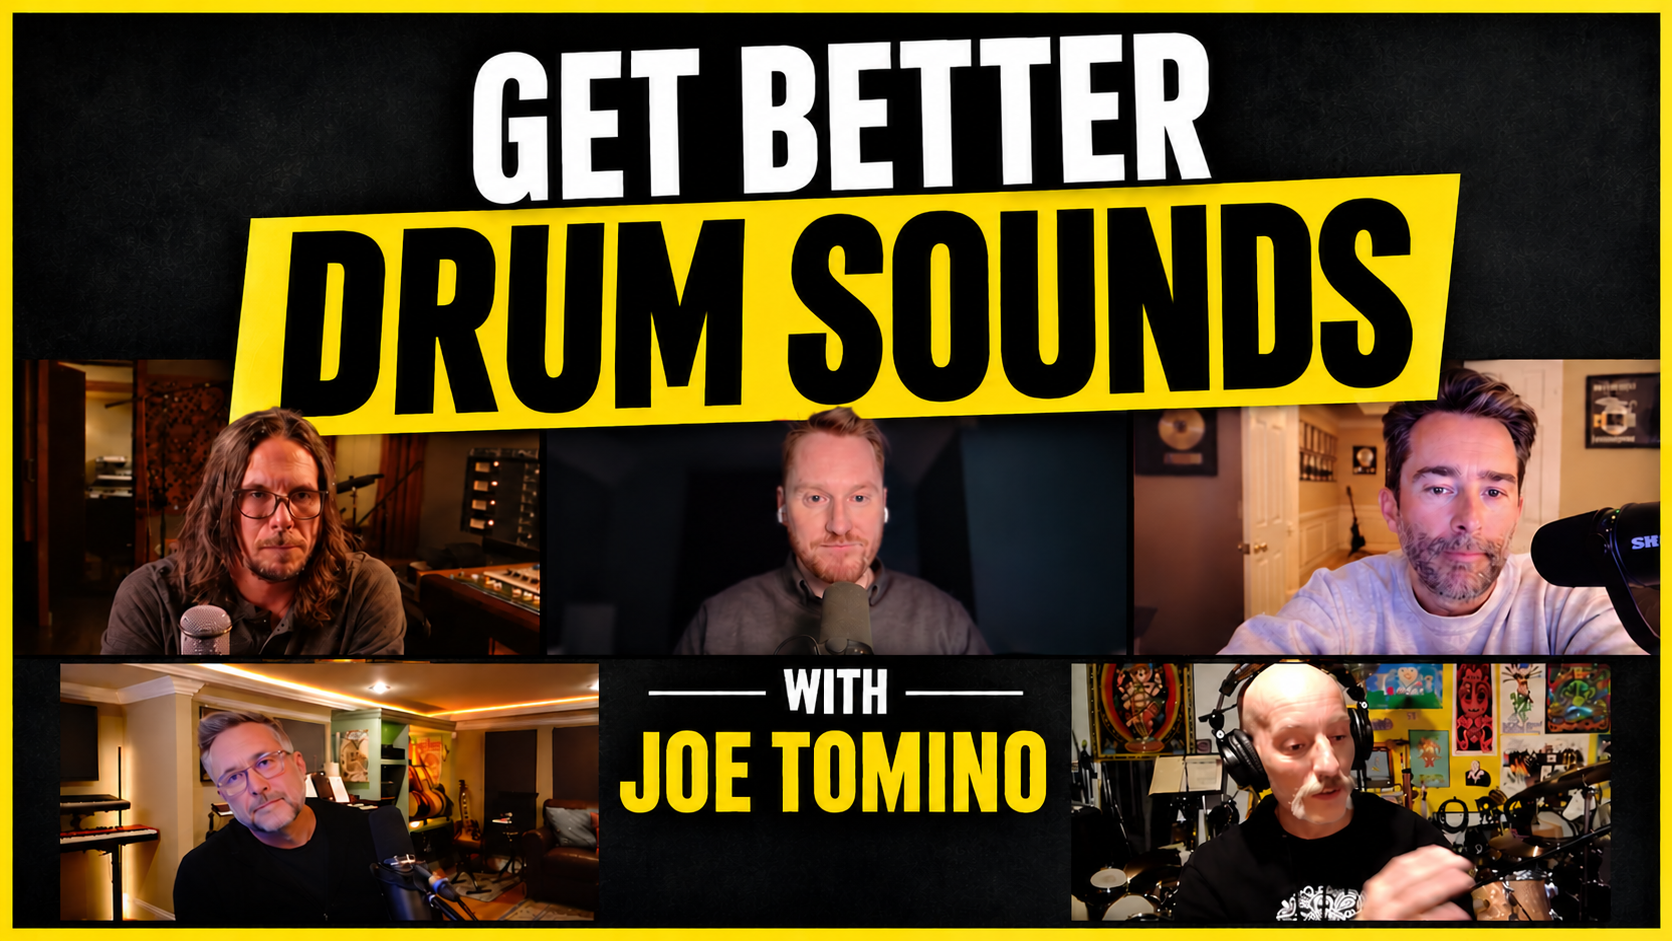
How to Record Better Drum Sounds: Microphone Placement, Tuning, Performance and Mixing Tips with Joe Tomino
Learn how to record better drum sounds with drummer and producer Joe Tomino. Discover practical drum recording techniques, microphone placement strategies, drum tuning, overhead microphone setups, phase relationships, and ways to get professional drum sounds in any recording environment.
Getting great drum sounds doesn't start with expensive microphones or complicated recording setups. It starts with the song, the drummer, and the sound of the drums themselves.
In this GainStage session, drummer, producer, and GainStage member Joe Tomino joins Jake Fader, Jim Stewart, Dan Millice, and Lee Turner to discuss the art and science of recording drums.
The conversation covers how to choose the right drum sound, prepare for a recording session, work with drummers, tune and treat drums, position microphones, manage phase, and experiment with unconventional recording techniques.
Whether you're recording drums in a professional studio or a home recording space, these techniques can help you make better decisions and get better results.
What Are the Most Important Things to Consider When Recording Drums?
Before choosing microphones or setting up a drum kit, consider these five things:
-
The song: Determine whether the arrangement needs a full drum kit, a simple loop, percussion, or no drums at all.
-
The player: The drummer's touch, timing, dynamics, and feel have more influence on the sound than the microphone collection.
-
The source: Choose the right drums, cymbals, tuning, heads, beaters, and muffling.
-
The room: Understand how the recording space affects reflections, resonance, and the overall drum sound.
-
The microphones: Use microphone selection and placement to capture the sound you've already worked to create.
The order matters. A great performance on a well-prepared kit will usually get you closer to a great recording than trying to fix a poor source with expensive equipment.
1. Start With the Song Before Recording Drums
One of Joe's biggest recommendations is to ask what the song actually needs before recording anything.
Does the song need a complete drum kit? Would a kick drum alone work? Maybe it needs claps, tambourine, or just a simple rhythmic loop.
Not every song needs a drummer playing a full arrangement.
Should You Use a Drum Loop or Record a Live Drummer?
Drum loops can be extremely effective, especially in pop music. Many great pop recordings use simple two-bar loops.
However, a live drummer can respond to the arrangement in ways a repeating loop cannot.
A drummer can:
-
Lay back during a verse.
-
Push into a chorus.
-
Open the hi-hat at the right moment.
-
Play a fill leading into a pre-chorus.
-
Change the kick pattern as the arrangement develops.
-
Drop out for a bar to create tension.
If the song benefits from those changes, a live drummer may offer something a loop cannot.
If a simple loop is all the song needs, commit to that choice.
Establish the Drum Sound During Pre-Production
Decide early whether the song needs a tight, controlled drum sound, an open and airy room sound, or a simple metronomic pulse.
Joe recommends using reference recordings to communicate the desired sound and feel.
Share specific recordings or playlists with the producer and drummer. References help everyone understand the direction and make practical decisions about equipment, including whether to bring a wood snare or piccolo snare.
Think about the arrangement before the drummer starts playing. Joe often works through the form in his head, planning where the hi-hats open, where the kick changes, and where the drums might drop out.
These decisions help create tension and release throughout the song.
2. Why the Drummer Matters More Than the Microphones
One of the most important principles in drum recording is that the player comes first.
Joe describes the order of importance this way:
-
The drummer.
-
The drums and the room.
-
The microphones and preamps.
A great drummer can make a bad drum kit sound great.
Joe remembers playing beat-up backline drum kits after moving to New York. The kits sounded terrible to him, but another drummer could sit down at the exact same drums and make them sound amazing.
The equipment hadn't changed. The player had.
Jim shared a similar experience recording high school bands for a local recording program. Every drummer played the same kit through the same microphones, preamps, and processing.
Students would often wonder why the drums sounded great ten minutes earlier but not now.
The difference was how each drummer played.
How Does Drum Technique Affect the Recorded Sound?
Groove is often about milliseconds.
A drummer can play directly on the beat, push ahead of it, or lay behind it. Those small timing differences affect the energy and feel of a recording.
The way a drummer strikes the drums also changes the sound.
For example, playing the shoulder of the stick against the edge of the hi-hat produces more attack than playing with the tip of the stick.
Cymbals don't always need to be hit hard. Overheads, room microphones, and compression will capture and emphasize their energy.
The goal is to get the right performance before trying to correct it with processing.
Why Drummers Need to Be Open to Direction
Joe is particularly inspired by producers who encourage drummers to experiment.
A producer might start by saying, "Play what you hear."
After a couple of passes, they may ask the drummer to try something completely different.
The best session players are willing to explore ideas that might not have been their first instinct.
Jake makes an important point about suspending your ego. Great accompanists understand that their job is to serve the song. If the person hiring them wants a different approach, they are willing to change direction.
Joe's personal musical projects can be weird, distorted, and noisy. But if the song calls for a clean, pure, floating backbeat, that's what he plays.
3. How to Get the Best Sound From Your Drum Kit
Before reaching for EQ or compression, spend time shaping the actual drums.
The size of the kick drum, the type of snare, cymbal weight, drumheads, tuning, and muffling all affect the recorded sound.
How to Control Drum Resonance
If you're recording a large rock kit for a quieter song, you may need to reduce some of its natural resonance.
Joe uses several methods:
-
Gel or tape to control drum resonance.
-
Tea towels in different weights.
-
Bandanas.
-
Drum tortillas, which are essentially tea towels with a small hook for quick removal.
-
A fat, thin snare head to deaden the drum and add low end.
The goal is to make the instrument work for the arrangement rather than forcing the arrangement to work around the instrument.
How to Find the Natural Pitch of a Drum Shell
Joe shares a specific drum-tuning technique:
-
Remove both drumheads.
-
Hold the drum shell.
-
Knock on the shell and listen to its natural pitch.
-
Tune the bottom head around that pitch or slightly higher.
-
Tune the top head approximately a quarter to a half tone lower.
The relationship between the two head pitches affects the drum's resonance. Matched pitches can cancel each other out and reduce resonance.
Which Drum Components Should You Change First?
Joe says that nine times out of ten, he starts by changing snares and cymbals.
After that, he works on the toms, tunes them, and experiments with the kick drum treatment and beater.
Different kick beaters offer different tonal characteristics:
-
Wood.
-
Fluffy.
-
Felt.
-
Plastic.
There is no single drum kit or configuration that works for every song.
On one record, the team used four different kick drums, six snares, and multiple cymbal choices. They also experimented with different kick microphones, including the RE20, M88, and D12.
How Does Room Size Affect Drum Recording?
Small rooms can create challenges because overtones and reflections can become excessive.
If the room is too lively, consider adding baffling or moving microphones farther away from the drums.
The goal is to understand how much of the room you want in the recording.
4. Drum Microphone Placement: How Many Microphones Do You Really Need?
You don't need 14 microphones to get a great drum recording.
Joe has recorded drums with 14 microphones and with only two.
More microphones create more options, but they also create more opportunities for phase problems, EQ complications, and unnecessary mixing work.
Sometimes, after setting up 14 microphones, you end up using only three.
Joe prefers experimenting with minimal microphone setups whenever possible.
How Does Microphone Distance Change the Drum Sound?
Microphone distance is one of the most important variables in drum recording.
-
Close microphone placement: Captures more of the drumhead and its pitch.
-
Farther microphone placement: Captures more body and air.
-
Pointing toward the center of the drumhead: Emphasizes attack.
The kick drum is a good example.
A microphone placed directly in the center captures more beater attack. Moving slightly off-center reduces some of that attack. Moving farther out can capture more sub-frequency energy.
Small changes in microphone position can produce significant differences.
Move a microphone an inch, listen, and decide whether the sound improves.
Why Is Phase Important When Recording Drums?
When recording drums with multiple microphones, phase relationships can dramatically affect the overall sound.
Joe recommends experimenting with the phase button on individual microphone channels.
Flip the phase on different microphones and listen.
You might find that the kick disappears with one setting or that the low end opens up with another.
There isn't one universal setting that is always correct. The important thing is to listen to the combined sound and choose what works for the song.
How to Control Drum Room Reflections
Room reflections are a major part of drum recording.
If you don't have gobos, try hanging moving blankets from microphone stands to reduce unwanted reflections.
Consider the sound of the room before deciding how far away to place your microphones.
The room can add dimension and character, but excessive reflections can make the drums difficult to control.
Can You Record Great Drums With Only Two Microphones?
Absolutely.
Joe shared an example from a session at Daptone Studios where he used just two microphones:
-
An old RCA ribbon microphone on the floor underneath the snare, capturing the kick attack, snare, and hi-hat.
-
A cheap overhead microphone.
The recording was made in a small, funky room on tape.
It's an example of how microphone choice, placement, performance, and room sound can work together without requiring a complicated setup.
Joe also points to Beck's Sea Change, where the drums have an extremely tight sound despite being recorded at Ocean Way. Nigel Godrich's engineering demonstrates how a large recording room can still produce a controlled drum sound.
Great microphones are useful, but you can make excellent drum recordings with SM57s and SM58s, too.
5. Overhead Microphone Techniques for Recording Drums
Overhead microphones are often used to capture cymbals, but Joe approaches them as an important part of the overall drum sound.
Many engineers high-pass overhead microphones to remove low frequencies and focus on cymbals.
However, when using a minimal two-to-four-microphone setup, Joe prefers keeping the overheads full range.
The overheads may be capturing important kick and snare body, along with the toms.
Removing too much low end can remove part of the drum sound.
Mono Overhead vs. Stereo Overheads
Joe uses several overhead approaches depending on the song:
-
A single mono overhead.
-
A wide X/Y stereo pair.
-
A wider stereo configuration.
-
A combination of overheads, kick, snare, and an additional microphone.
He may also use a wildcard microphone, such as a Glyn Johns-style microphone positioned over the floor tom.
When using a mono overhead, think about where the toms sit in the stereo field. Positioning the microphone directly over the kick might cause you to lose the floor tom during a fill.
Using a Ribbon Microphone as an Overhead
Joe and Jake sometimes use a Coles 4038 ribbon microphone as a mono overhead.
They leave much of the low end intact.
The ribbon helps soften the high frequencies and adds thickness to the drum track.
On very fast songs, however, that thickness can become excessive.
As with any microphone choice, the arrangement and desired sound should determine the approach.
6. The Most Important Drum Balance: Kick, Snare, and Hi-Hat
One of Joe's strongest recommendations is to focus on the internal balance of the drum kit.
The relationship between the kick, snare, and hi-hat is the foundation of the drum sound.
In pop, hip-hop, rock, country, and soul, the balance between the drummer's right hand, left hand, and right foot is critical.
Everything else is filler.
How to Get Better Kick, Snare, and Hi-Hat Balance
Start by listening to the drummer's performance.
Is the hi-hat too loud? Is the snare overpowering the kick? Are the cymbals masking the rest of the kit?
Sometimes the solution is simply asking the drummer to adjust their playing.
If the hi-hat is too loud, Joe suggests having a conversation and asking the drummer to play it more quietly.
You can also mute the hi-hat microphone entirely. Joe generally avoids using a dedicated hi-hat microphone unless the style requires it, such as reggae.
Why Drummers Shouldn't Always Hit Cymbals Hard
Cymbals can easily overpower a recording, especially when using overheads and room microphones.
A drummer doesn't always need to hit harder to create more energy.
Changing stick position, touch, and dynamics can produce a better result than adding more processing.
Even fast and aggressive metal drumming often uses small, controlled movements.
The performance is the foundation of the sound.
7. How to Use Percussion and Layering in a Drum Arrangement
Joe thinks of percussion as a way to fill the gaps and connect the different rhythmic elements of a song.
He generally adds percussion shortly after recording the drums or toward the end of the production, before vocals, once the guitar and bass parts are established.
Why You Should Plan Tambourine Before Recording Drums
If you know a tambourine is going to play during the chorus, tell the drummer before the drum take.
Otherwise, the drummer may naturally fill the empty space.
Planning percussion ahead of time allows the drummer to simplify their part and leave room for other elements.
Should You Record the Loop Before the Drummer?
If the production includes a loop, have it ready before the drummer records.
The drummer can play along with the loop, copy it, augment it, or replace it.
This gives the drummer a clear understanding of the rhythmic foundation and helps the parts work together.
What Can We Learn From Motown Percussion?
Joe points to Motown recordings as examples of effective percussion layering.
The tambourine can be as loud as the vocal. Some recordings even use two drummers, with one playing the backbeat and another handling the main beat and fills.
For a listening exercise, Joe suggests putting on headphones and trying to find the shaker in Metallica's "Sad But True."
8. Creative Drum Recording Techniques: Experiment With Unconventional Microphone Setups
Not every great drum sound comes from a traditional recording setup.
Joe is inspired by engineers and drummers who experiment with unconventional techniques, including Nigel Godrich and Chad Blake.
He points to the first song on Colossal Head, which has a drum sound reminiscent of a toy kit recorded through a compressed, filtered, dirty microphone, while still retaining a sense of air.
Sometimes the most interesting sound comes from doing something unexpected.
A Simple Drum Recording Experiment for Your Home Studio
Try recording a drum kit with just two or three microphones:
-
One overhead microphone.
-
One kick microphone.
-
One additional microphone that you can move around the room.
Experiment with placing the third microphone:
-
Over the snare.
-
In another room.
-
Pointed toward a wall.
-
Somewhere else in the recording space.
Listen to the differences and decide which position creates the most interesting sound.
Experiment With Compression and EQ
Don't be afraid to try unconventional processing.
Joe suggests experimenting with heavy compression or even boosting 400 Hz by 8 dB just to hear what happens.
These experiments don't necessarily need to become part of the final mix.
The goal is to discover sounds you might not have found otherwise.
Ideally, allow time for these experiments during pre-production rather than trying to make them happen while the session clock is running.
Jake and Joe have worked together on more than 100 tracks and have never miked two songs identically.
They often use an unusual microphone doing something unexpected, sometimes choosing inexpensive microphones for those applications.
9. Practical Drum Recording Tips and Tricks
Here are additional techniques from Joe's conversation that producers, engineers, and drummers can put into practice immediately.
Ask a Drummer for Help With Your Bass Line
If you're struggling with a bass part, ask a drummer.
Drummers who have spent years locking in with bass players often have valuable opinions about the relationship between the two instruments.
It's a resource that producers and songwriters rarely think to use.
Raise the Hi-Hat in the Drummer's Headphones
If a drummer is playing the hi-hat or cymbals too aggressively, try bringing those elements up in the headphone mix.
Sometimes the drummer will naturally play quieter once they can hear the cymbals more clearly.
Isolation headphones are important here because the drummer only hears what you provide in their mix.
Help Less Experienced Drummers Feel the Click
If a drummer is having trouble staying with the click, give them more rhythmic information.
You can add a delay to the click to create more subdivision.
Another option is to quickly program a shaker or tambourine throughout the song to provide another rhythmic reference.
Reduce Click Bleed Into Drum Microphones
If a drummer needs the click very loud in their headphones, try high-passing or low-passing the click slightly.
This can help reduce the amount of click that bleeds into the drum microphones.
How to Compress Drums Without Losing the Attack
When compressing drums, Joe recommends starting with the slowest attack and fastest release possible, then working your way in.
A drummer who hits the drum as hard as they intend to will notice when compression removes too much of the attack.
The goal is to control the sound without taking away the performance.
10. Joe Tomino's Drum Recording Yes-or-No Lightning Round
During the conversation, Jake asked Joe a series of quick questions about recording drums.
Can a great drummer make a bad drum kit sound great?
Yes.
Can perfectly quantized drums have a great groove?
It depends on what's surrounding them, but yes.
Is internal kit balance more important than microphone placement?
Yes.
Can one microphone sound better than twelve?
Yes.
Is drum replacement sometimes the best artistic choice?
Sometimes, yes. There is no shame in replacing or augmenting drums when it's the right artistic decision.
These answers reinforce the central theme of the session: there is no single correct way to record drums. The best approach depends on the player, the source, and the song.
Frequently Asked Questions About Recording Drums
What is the most important factor when recording drums?
The drummer's performance is the most important factor. A great player can make an average drum kit sound excellent. The quality of the drums, the room, and microphone placement all matter, but performance comes first.
How many microphones do you need to record a drum kit?
You can record a drum kit with as few as two microphones or use a setup with 14 or more. The right number depends on the song, the room, the desired sound, and how much control you need during mixing.
Should drum overhead microphones be high-passed?
Not necessarily. When using a minimal two-to-four-microphone setup, keeping overheads full range can help capture the body of the kick, snare, and toms in addition to the cymbals.
What is the best way to control drum resonance?
You can control resonance using gel, tape, tea towels, bandanas, drum tortillas, and different drumhead choices. Tuning the top and bottom heads in relation to the natural pitch of the shell can also affect resonance.
Why is phase important when recording drums?
Multiple microphones capture the same sound from different positions. Their phase relationships can affect the combined sound, especially the low end. Experiment with microphone placement and phase polarity to find the best combined sound.
Can you record professional-sounding drums in a small room?
Yes. You need to understand the room's reflections and resonance. Baffling, moving blankets, and microphone placement can help control unwanted reflections. A minimal microphone setup can also be effective.
Are expensive microphones necessary for great drum sounds?
No. Joe has recorded drums using inexpensive microphones and more expensive studio microphones. Performance, source quality, and microphone placement are more important than simply choosing expensive equipment.
Should you use a dedicated hi-hat microphone?
Not always. Joe generally prefers not to use a dedicated hi-hat microphone unless the style requires it. The overhead microphones often capture enough hi-hat, and the balance can also be addressed through the drummer's technique.
How do you get a tighter drum sound?
Start with the drummer's performance, drum tuning, and source selection. Control excessive resonance, consider the room, and experiment with microphone distance and placement. The goal is to capture the desired sound rather than relying entirely on processing.
Final Thoughts: Better Drum Sounds Start Before You Touch a Microphone
The biggest lesson from Joe Tomino's conversation is that recording drums is about making the right decisions in the right order.
Start with the song. Choose the right player. Shape the drums. Understand the room. Then choose your microphones.
Don't assume more microphones mean better results. Don't assume expensive equipment will fix a poor performance. And don't be afraid to experiment.
Sometimes the best drum sound comes from a simple two-microphone setup. Sometimes it comes from an unusual microphone in an unexpected position. Sometimes the best decision is to replace or augment the drums.
The common thread is knowing what the song needs and being willing to make choices that serve it.
By following these principles, you can consistently achieve professional-quality drum sounds regardless of your budget or recording environment. The journey to better drum recording begins with a commitment to preparation, performance, and creative experimentation.
Continue the Conversation on GainStage
Joe will be back for Part Two!
If you have questions that weren't answered during the session, share them in the GainStage community and tag Joe.
GainStage brings together producers, recording engineers, mixers, mastering engineers, and musicians to share knowledge, collaborate, and learn from one another.
Learn from working professionals. Share your experience. Get another set of ears.
Visit www.gainstagecommunity.com to join the conversation.
© 2026 GAINSTAGE
About This Article
Topic: Recording drums and achieving better drum sounds.
Guest: Joe Tomino — drummer and producer.
GainStage contributors: Jake Fader, Jim Stewart, Dan Millice, and Lee Turner.
Intended audience: Music producers, recording engineers, mixing engineers, drummers, songwriters, and home studio owners.
Related topics: Drum recording techniques, drum microphone placement, drum tuning, overhead microphones, drum phase, kick and snare balance, drum room acoustics, drum compression, percussion recording, and home studio recording.

0 comments